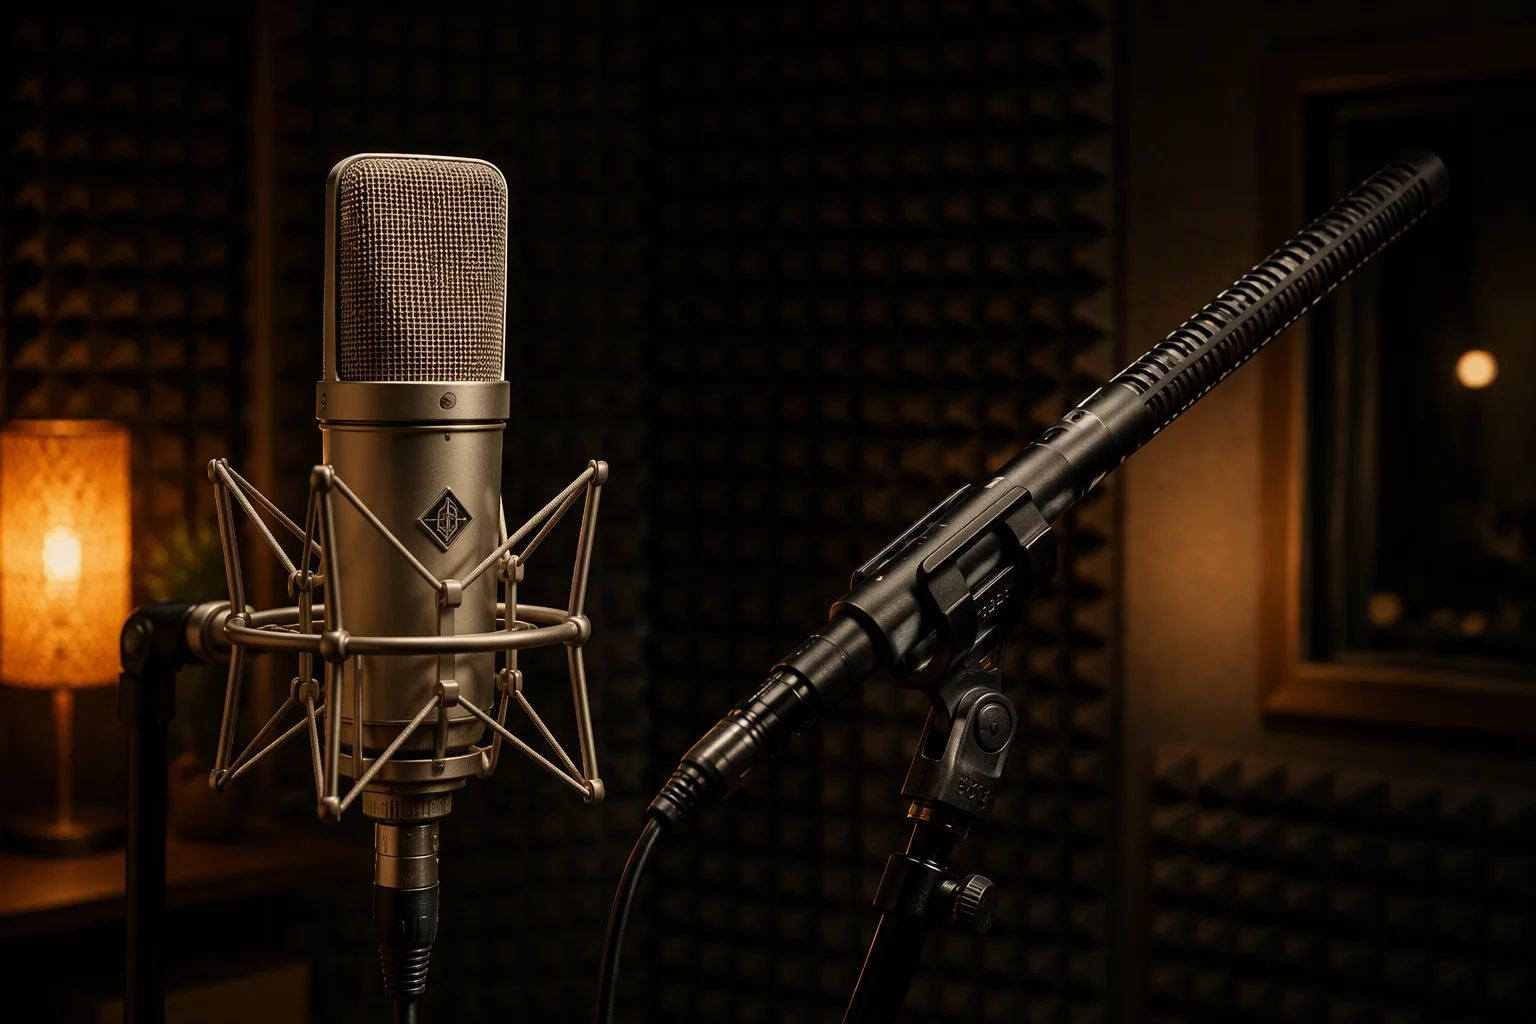
When stitching together spoken dialogue from alternate takes, sound editors regularly encounter clips recorded through completely distinct transducers. Perhaps the primary angle captured dialogue on a hypercardioid boom positioned overhead, while the reverse shot relied solely on an electret lavalier pinned to the actor's wardrobe. The resulting transition feels jarring not because the performance wavered, but because the transient response, polar pickup patterns, and proximity boost vary drastically across the boundary.
Tackling this contrast at the channel fader level or relying solely on a compressor to squash the inconsistency inevitably backfires. A compressor reacts indiscriminately to the louder boom low-end, choking dialogue syllables that should otherwise speak cleanly. Applying pre-fader clip gain inside your digital audio workstation establishes an even playing field before processing begins. Adjusting individual clip envelopes allows you to equalize baseline speech energy without disrupting delicate downstream automation curves.
Evaluating Proximity Effect, Polar Patterns, and Off-Axis Coloration
Microphone geometry dictates the distribution of captured room tone and vocal fundamentals. Shotgun microphones pick up focused directional detail while rejecting reflections off side walls, but they exhibit noticeable phase coloration if an actor turns their head off-axis. Miniature lavaliers rest close to the chest cavity, accumulating substantial resonance around 300 to 500 Hz through chest resonance and physical coupling, yet they capture significantly less room reverberation overall.
When an edit cuts directly from a distant shotgun capture to a close-proximity chest mic, speech energy leaps forward in perceived depth. The listener experiences this as an unnatural sudden leap in presence. Before engaging dynamic equalizers or restoration filters, measure the integrated loudness of the spoken vowels in both clips. Dropping the clip gain on the lavalier by three or four decibels frequently pulls its perceived intimacy back into the same acoustic plane as the boom clip, resolving the perspective collision without altering subsequent track balance.
Essential Principles for Multi-Mic Dialogue Transitions
- Neutralize raw RMS level discrepancies between differing microphone models with static clip gain before inserting equalization or dynamic processing.
- Locate the crossfade junction precisely within zero-crossings or quiet unvoiced consonants rather than across sustained, resonant vowel formants.
- Use equal-power crossfades with a 35 to 50 millisecond transition window to avoid noticeable dips in ambient room decay between cuts.
Crossfade Alignment and Smooth Room Tone Transitioning
A seamless transition between disparate audio clips depends directly on the behavior of the crossfade region. If you apply a linear fade between clips with divergent ambient noise floors, the total acoustic energy often dips slightly in the middle, creating a momentary drop in room tone that calls attention to the edit point. Selecting an equal-power crossfade profile maintains continuous acoustic energy across the seam, preventing the noise floor from fluttering.
Furthermore, inspect the waveform tails on both sides of the splice point. If the shotgun clip contains trailing room decay that terminates abruptly into the dry lavalier take, feather the cut point slightly outward. Extending clip handles beneath an overlapping crossfade lets the natural decay of the first room ring down gracefully under the rising consonant of the subsequent phrase. By combining disciplined clip gain offsets with careful fade placement, you transform what seemed like an impossible microphone clash into a coherent, naturalistic exchange.